A Homeowner's Guide to Navigating Storm Damage Insurance Claims in Hartford
The wind howls, the rain lashes against the windows, and when the Nor'easter finally passes, you're left with the stressful aftermath. Discovering your roof has been damaged is a daunting experience for any homeowner. Beyond the immediate concern for your property, you face the often confusing and intimidating process of filing an insurance claim. It’s a path filled with paperwork, adjusters, and terminology that can feel overwhelming when you’re already under pressure.
At Lucky Dog Roofing, we understand that dealing with storm damage is about more than just fixing shingles; it's about restoring your peace of mind. We've helped countless homeowners across the Hartford area navigate this exact process. This guide will walk you through the essential steps, from initial damage assessment to final repairs, ensuring you can approach your insurance claim with confidence and secure the fair compensation you deserve.
Step 1: Prioritize Safety and Document Everything
Once the storm has subsided and it's safe to go outside, your first priority is to assess the situation carefully. Before you even think about calling your insurance company, take these critical first steps:
- Safety First: Do not climb on your roof. It could be structurally compromised, slippery, or have hidden hazards. Assess the damage from the ground or a safe vantage point. Look for obvious signs like missing or broken shingles, dented gutters, or damage to vents and flashing. Also, check your attic for any signs of water intrusion or daylight coming through the roof deck.
- Document Thoroughly: This is the most crucial step in building a strong claim. Using your smartphone, take extensive photos and videos of all damage. Capture wide shots of the entire roof and close-ups of specific problem areas. The more evidence you have, the better. Make sure your photos are time-stamped if possible. Keep a written log of the date of the storm and the date you discovered the damage.
- Mitigate Further Damage: Your insurance policy requires you to take reasonable steps to prevent further damage to your home. This might mean placing a tarp over a leaking area or moving furniture and valuables away from a ceiling stain. Keep receipts for any materials you purchase for these temporary fixes, as they are often reimbursable. This shows the insurance company you are being a responsible homeowner.
Step 2: Contact Your Insurer and a Trusted Roofer
With your initial documentation complete, it's time to get the official process started. Navigating the call to your insurance company and involving a professional early can make a significant difference in the outcome of your claim.
First, find your insurance policy documents and call the claims department. Have your policy number ready and be prepared to provide a clear, concise description of the damage based on your notes and photos. They will assign you a claim number and schedule a visit from an insurance adjuster.
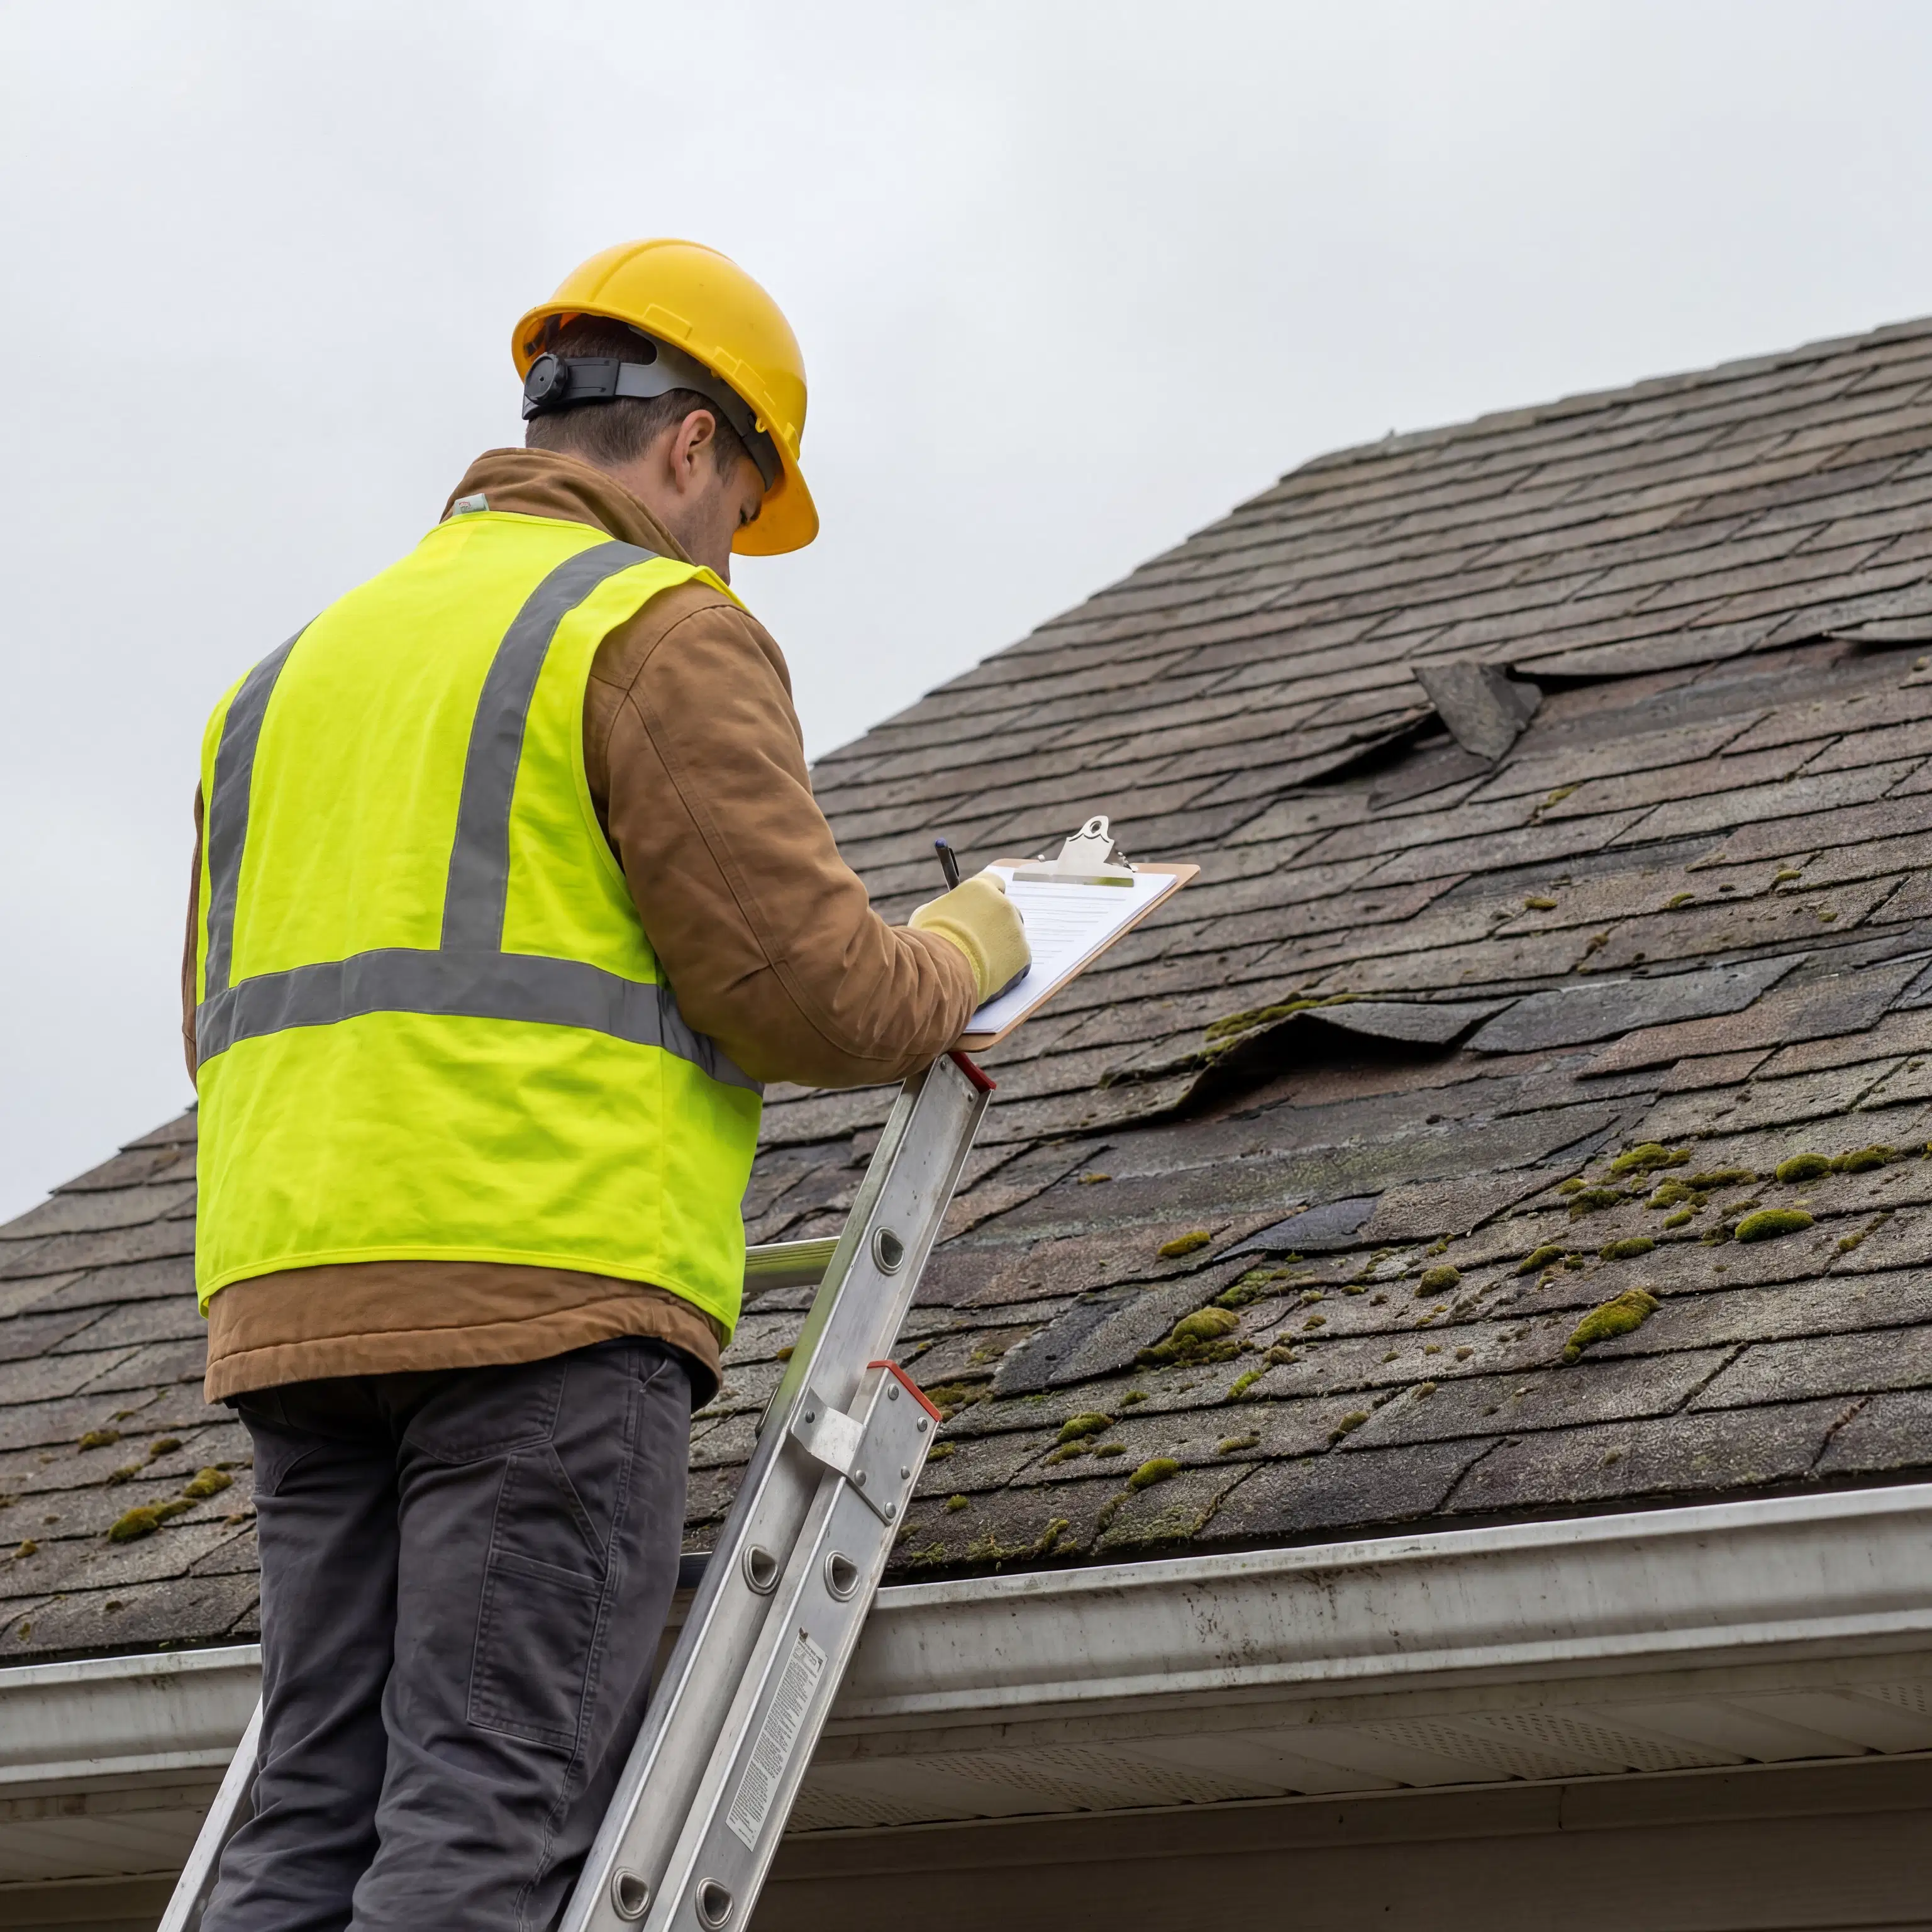
This is a critical juncture: Before the adjuster visits, you should contact a reputable, local roofing contractor for an independent inspection. An experienced roofer acts as your advocate. We can identify damage that an adjuster, who may not be a roofing expert, might overlook. A professional inspection provides you with a detailed report and a line-item estimate for the necessary roofing repairs. This document is invaluable, serving as a benchmark to compare against the adjuster's assessment and ensuring that the scope of work is complete and accurate.
Step 3: The Adjuster's Visit and Reviewing the Settlement
When the insurance adjuster arrives, it is highly recommended to have your chosen roofer present. This ensures that both parties are looking at the same evidence. Your roofer can point out specific damages, explain local building code requirements, and answer any technical questions the adjuster may have. This collaborative approach helps prevent disagreements and ensures a more accurate initial assessment, which is key to receiving fair compensation.
After the visit, the adjuster will compile a report detailing the scope of covered damages and the estimated cost of repair. This report will outline your settlement offer, which typically accounts for your deductible. Review this document carefully. Compare it line-by-line with the estimate provided by your contractor. Look for discrepancies in:
- Scope of Work: Did the adjuster include all the necessary repairs, from shingles to underlayment and flashing?
- Material Quality: Does the settlement account for materials of the same kind and quality as your existing roof?
- Labor Costs: Are the labor rates in line with local market prices?
If the settlement seems low or incomplete, don't worry. This is a normal part of the process. You can provide your roofer's detailed estimate to the insurance company to negotiate a fair and comprehensive settlement that covers the full cost of a proper roofing replacement or repair.
Your Partner in Recovery
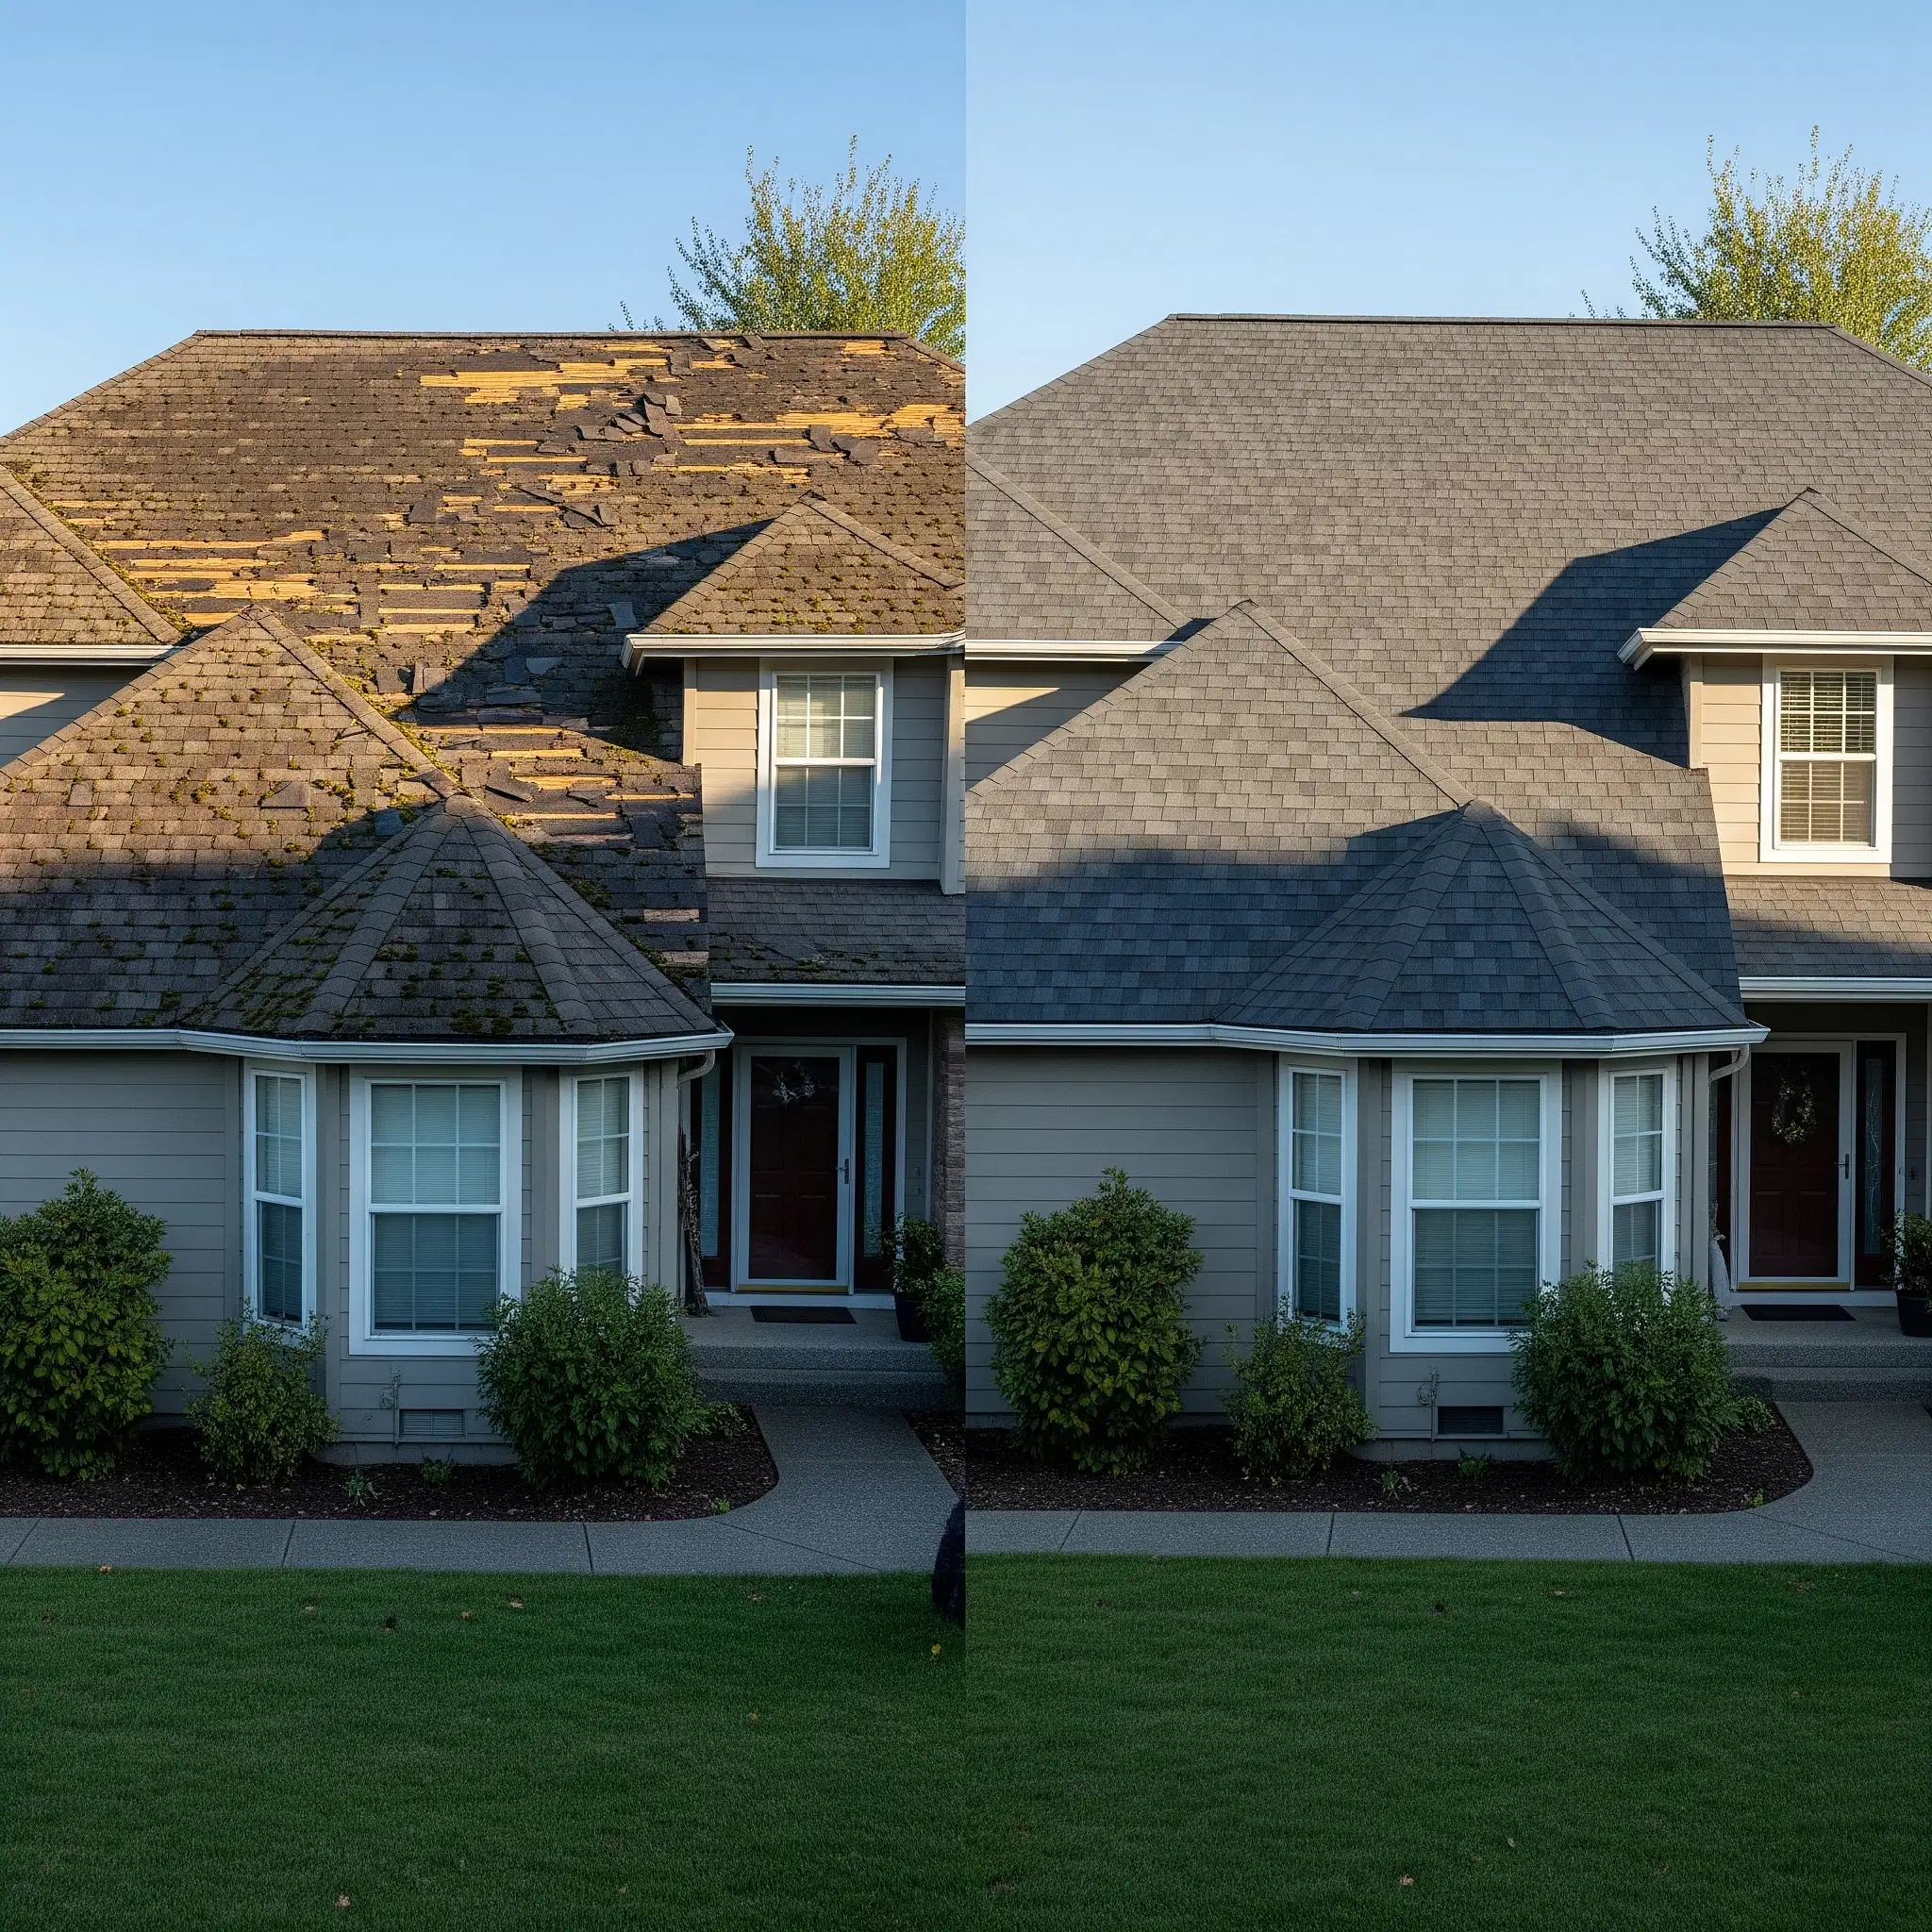
Dealing with the aftermath of a storm is stressful enough without the added burden of a complicated insurance claim. By following these steps—prioritizing safety, documenting thoroughly, and partnering with an expert roofer—you can navigate the process with confidence. A trusted professional on your side ensures that all damage is identified and that you receive the full compensation needed to protect your home, one of your most significant investments.
If your home in the Capital City has been affected by storm damage, don't face the insurance process alone. The team at Lucky Dog Roofing is here to help. We provide thorough inspections, detailed estimates, and expert guidance to help you with your claim from start to finish. We're committed to restoring not just your roof, but also your peace of mind. Contact us today for a free, no-obligation storm damage assessment and let us help you get your home back in top condition. We also handle related damage, including siding repair and replacement.